Harvesting and Storing Seeds - Oso Berry
PNW Seed Harvesting and Storing
This is my first post in a series titled "PNW Seed Harvesting and Storing". This series will be explaining how and when to harvest seeds from different Pacific Northwest native plants. It will also go into how to store them and what steps are needed to prepare them for germination.

Can I Start Native Plants from Seed?
Native plants are often propagated using a variety of different methods. One method is starting them by seeds. Different plants can have varying levels of difficulty in starting by seed. Harvesting native plant seeds for the backyard habitat can be a cost effective method for acquiring new vegetation. While the process can be more labor intensive and take more time it can be rewarding for to see the entire process from fruit to seed to plant.
Oso Berry Seed Colleting
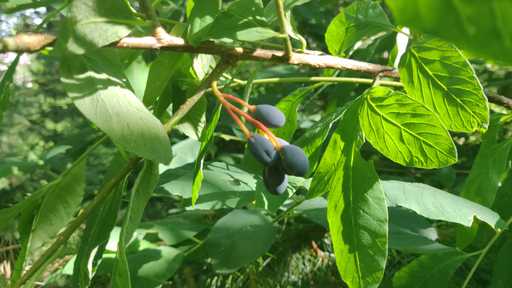
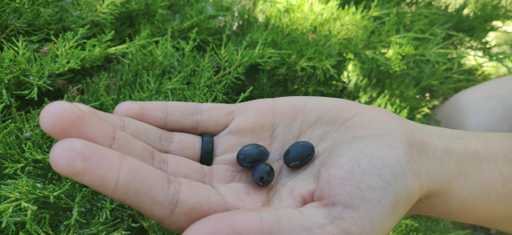
One plant species that can easily be propagated from seed is the Oso berry. Oso berry (Oemleria cerasiformi) is a deciduous shrub native to the Pacific Northwest. It is one of the earliest native plants to leaf out and flower in the late winter helping to indicate spring is on the way. Oso berry is a great native plant landscaping or wildlife habitat species. For more information check out the native plant spotlight post on Oso berry. In the Pacific Northwest the best time to start harvesting Oso berry seeds is May through June. At this time the berry will ripen to a dark blue color and be soft when squished. Collect berries from mature plants and ensure you follow ethical harvesting principles. Only collect seeds from land that you have permission to collect on.

Processing the Fruit
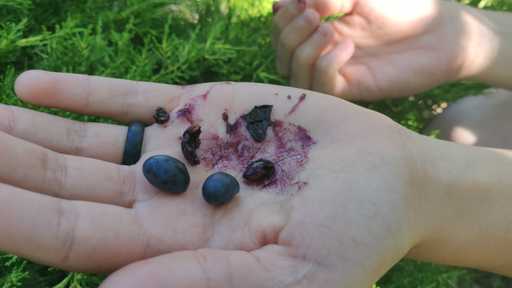
Once you have collected the berries you will need to extract the seed from the berry. Each berry will contain one seed in the middle. To remove the seed you can push the seed out with your finger. If you are processing a larger amount of seeds you can place the fruit in a blender and quickly pulse it with water to help remove the flesh of the fruit. Rinse the flesh and seed mixture with a screen to remove the fruit. Be careful not to blend for too long as some seeds may be destroyed with this method. Choose the method that makes the most sense for the quantity of berries you are processing.

Storing your Seeds
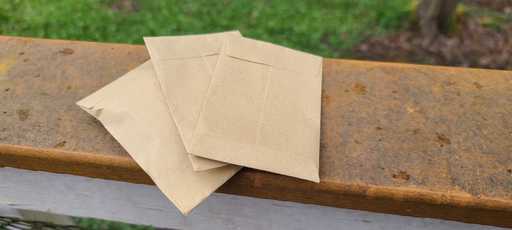
To prevent mold, you want to remove as much flesh as possible before storing. Allow the seeds to dry and then store in a cool and dry location out of sunlight. I like to store my seeds in a paper envelope in my garage or closet.

Planting Requirements
In the wild, Oso berries are naturally seeded in the summer by local fauna. The seeds remain in the moist soil through fall and winter where they lay dormant in the cool soil until spring. For best results with manual planting, the seeds may be either planted directly in fall or the seeds can be stratified and planted in the spring after the last frost. If starting indoors, you can plant 4-6 weeks before the last frost.
Stratification Requirements
Oso berry has a high germination success with minimal processing. A cool/moist stratification method may be used to improve germination rates. About two to four months before planting, place the seeds in a moist medium. A moist paper towel, or small container of soil works well. Store the seeds in the refrigerator until ready to plant. It is helpful to write the date and species on your containers so you don't forget what they are!